Most home networks are built in the wrong order. People buy a router, plug things in wherever the cable reaches, and then spend a weekend rebooting boxes trying to work out what broke. The fix is to build in layers: signal in, routing, wired expansion, wireless, then testing. Do it that way and a typical setup takes an afternoon, not a week.
You need four things: a modem, a router, possibly a switch, and devices that want Wi-Fi. If your internet provider supplied a single gateway box, you already have the first two in one chassis, and you can skip the modem step entirely.
Know What Each Box Actually Does
Half of home networking frustration comes from not knowing which piece is responsible for what. Before you plug in anything, get the roles straight.
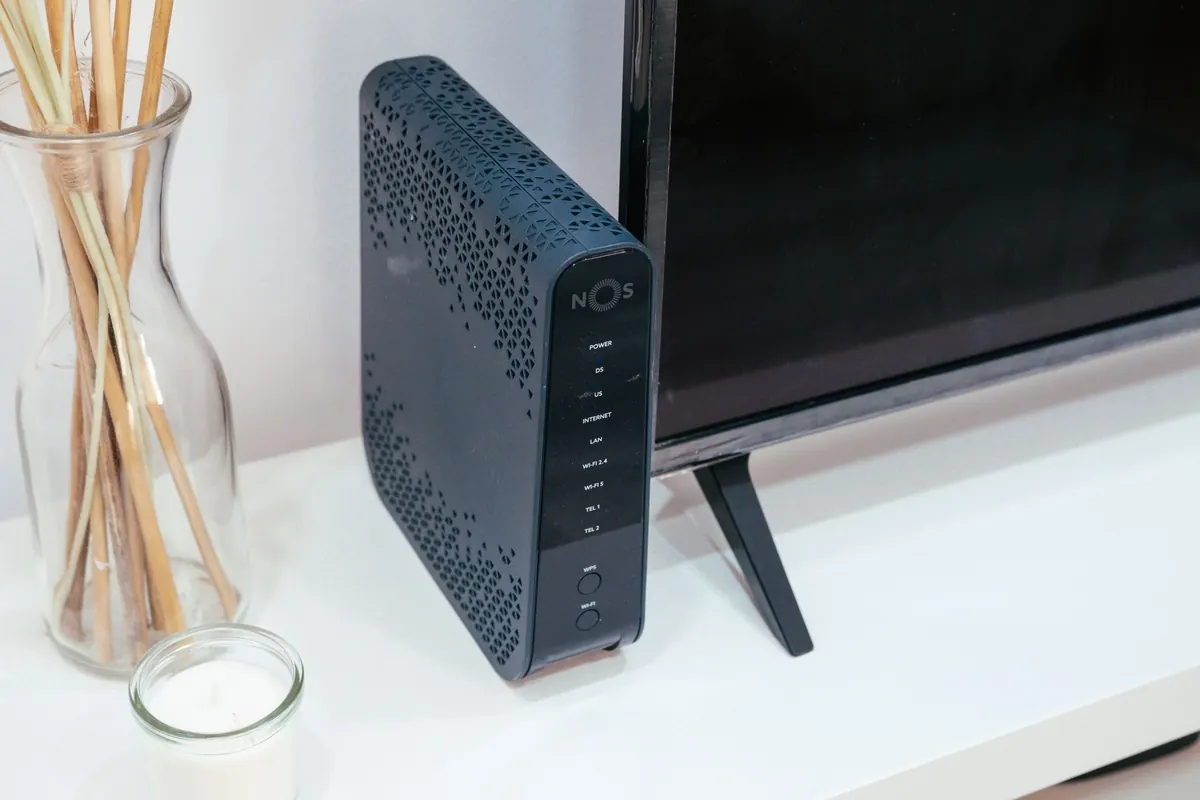
- Modem: translates the signal coming down the coax, phone line, or fiber into Ethernet. It hands out one connection, to one device.
- Router: takes that single connection and shares it. It assigns local IP addresses, keeps outside traffic out, and usually provides Wi-Fi.
- Switch: adds wired ports. An unmanaged switch needs no setup at all — power it, plug it in, done.
- Access point: adds Wi-Fi in a room the router's signal never reaches. Same job as your router's radio, without the routing.
A switch does not create Wi-Fi. An access point does not add Ethernet ports. Buying the wrong one is a common and expensive mistake, so decide what you're missing before you order.
Step 1: Bring the Signal to the Modem
Find where the service enters the house. Coax jacks usually live near a TV outlet, fiber arrives at a small wall-mounted box called an ONT, and DSL uses a phone jack. Screw the coax connector on by hand, then give it a gentle quarter turn with a wrench. Overtightening damages the center pin, and a damaged pin looks exactly like an outage.
Plug the modem into power and leave it alone for two minutes. Watch the lights. You want a solid connection light and a solid online light. Blinking means it is still negotiating. If nothing settles after several minutes, call your provider with the modem's make, model, and MAC address — they can often see whether the line is provisioned from their end.
Step 2: Connect and Configure the Router
Run an Ethernet cable from the modem's LAN or Ethernet port to the router's WAN port, which is usually a different color or labeled "Internet." This is the one cable you cannot get wrong. Everything else plugs into the LAN ports.
Connect a laptop to a LAN port with a cable for the initial setup. Wi-Fi might not be configured yet, and a wired connection won't drop halfway through a firmware update. Then open a browser and go to the router's admin address — commonly 192.168.1.1 or 192.168.0.1, and printed on a sticker underneath the unit.
Three things to do before anything else: change the admin password from the default, install the latest firmware, and confirm the router is pulling a public address on its WAN side. If the WAN shows no address, the router isn't talking to the modem, and no amount of Wi-Fi tweaking will help.
Step 3: Add a Switch Where You Need Ports
Routers typically offer four LAN ports, which disappears fast once a desktop, a printer, a games console, and a TV enter the room. A gigabit unmanaged switch solves this for the cost of a takeaway meal.
Plug the switch into a router LAN port with one cable, then run cables from the switch to your devices. On modern switches any port can act as the uplink, so there's no special socket. Two rules matter: never run two cables between the same switch and router, because that creates a loop and floods the network, and don't chain more than two switches if you can avoid it. Devices on a switch share the single uplink's bandwidth, which is irrelevant for streaming and browsing but noticeable if you're moving large files between two machines on the same switch at once.
Step 4: Set Up Wi-Fi Properly
Give the network a name that doesn't identify you or your address, and use WPA2 or WPA3 with a passphrase of at least twelve characters. Turn off WPS — it's a convenience feature with a weak spot, and typing a password once per device is not much of a burden.
Placement matters more than any setting. Put the router central, elevated, and out in the open. Floors, brick, mirrors, metal shelving, aquariums, and microwaves all eat signal. Antennas should point straight up for a single-floor home.
If your router broadcasts on both 2.4 GHz and 5 GHz, leave band steering on if it's offered. Otherwise, use 2.4 GHz for anything far away and 5 GHz for anything that needs speed. Put smart plugs, cameras, and other cheap devices on a guest network so a compromised gadget can't reach your laptop.
Step 5: Test the Network Layer by Layer
Work outward from your machine, and you'll always know where the problem sits.
- Check the link lights. No light means no physical connection — reseat the cable.
- Ping the router's address from a connected device. A reply proves your local network works.
- Ping a public address such as 1.1.1.1. If the router answers but this fails, the fault is upstream at the modem or provider.
- Ping a domain name. If the numeric address works but names don't, you have a DNS problem. Set the router's DNS servers to a public resolver and retest.
- Run a speed test wired, then from Wi-Fi in the same room, then from the room furthest away. Compare the numbers; that gap tells you whether you need an access point.
If one device misbehaves while others are fine, the network is healthy and the device is the problem. Forget the network on that device and reconnect before you touch the router.
A Few Habits That Save Trouble Later
Label both ends of every cable with a strip of tape and a marker. Write the router's admin password somewhere you'll find it in a year. Keep the firmware updated every few months, and reboot the modem and router in that order before calling your provider about an outage — it resolves a surprising number of calls.
Finally, sketch your setup on a single sheet of paper: what connects to what, and which port goes where. When something fails at eleven at night, that page is worth more than any app.
Photo: Jaycee300s / Pexels